Showing posts with label Lighting. Show all posts

Let's Make A Father's Day Gift!!

Isn't this the CUTEST gift for DAD?!
A photo of dad and son inside a hollowed out light bulb on a chalkboard block!!! 
Perfect to write how much you LOVE your dad!
Another option is to make a wire heart and screw a socket to the block.
There are so many wonderful FUN colors of wire! 
Aren't they just so COOL! 
I got the idea HERE

Let's make one! 

What you need:
  • Pliers
  • Light Bulb
  • Wire
  • Wood Block
  • Chalkboard Paint
  • Mini Clothes Pin/Socket
First I cut few blocks from left over lumber and sanded the edges.
One is cut from a 4x4 and the other with the socket is from a 2x6. 
{I cut a few extra to add to my Etsy shop and for my Farmers Market booth}
Then painted my block with a couple of coats of chalkboard paint. You can also make your own chalkboard paint in fun colors just by adding non-sanded grout to any flat paint. Like I did for my Art Activity Wall
While the paint dries...Hollow out the light bulb...This is surprisingly easy! 
I found a great tutorial HERE
I used an old burnt out light bulb and some small pliers.
I worked over a towel and just twisted and turned til the insides all came out...
who knew how easy it was to hollow out a light bulb?! 
Simply wash out the bulb with soap and water...
you don't even need to scrub..... it rises out so clean!
I thought I would try my hand at wire writing and put the word D A D in the light bulb! After watching a few You Tube video's on wire writing...
I had a total project FAIL!!!
Not only does it look AWFUL but it's way to big to go inside a light bulb...
Maybe you will be better at wire writing than me....
So I just went with a simple heart...
I did have to bend the heart a little to insert it and then put 2 screwdrivers up the bulb to carefully flatten out each side of the heart.
Then I hot glued the wire to the inside of the bulb so it stands upright. 
{if NOT using a socket, make a hole with a nail, insert wire and hot glue wire and bulb to block}
I found this old socket in one of the hubby's toolboxes 
and screwed it to the painted 2x6 block.
{Is it wrong to make the hubby a Father's Day Gift with items you 'steal' from his garage}
 and....the hubby already has this on his office desk! 


I had so much fun making this that I have been searching for items small enough to fit up a light bulb...While you can use a larger light bulb the opening is still the same size...

I found some tiny clothes pins at the craft store and glued them on the end of the wire and added a photo.
Oh the possibles are endless to be creative with a light bulb...search light bulb on Pinterest and you will see terrariums to fish bowls to potted plants!  


I think a set of 4 light bulbs on a longer board with the letters L.O.V.E would look awesome too....

What will you put up your light bulb?
Dried Flowers, Letters, Numbers, A LOVE Note Clay Shapes???

This post sponsored By:


Check out all the places I party!


How to Make a Glass Insulator Light

Oh how I wish I had all these fabulous colors!!
  
Ever wonder what you could do with those old glass insulators??
How about a pendant light!?

I am really into re-purposing  things right now....and I had a box full of glass insulators just calling my name.

Three of these beauties will soon be hanging above my eat at bar! 

  I will update with the after picture as soon as I
hang them this weekend.

I just couldn't wait to share how to make them.....
I am entering this project over at the DIY PROJECT PARTY
DIY Club

First, I looked up on the internet how to drill glass 
and found this helpful info below

You'll use these tips and techniques to drill glass, sea glass, wine bottles, glass block, tile, stone, granite and marble.
  1. Use diamond bits to drill your glass, not carbide bits.
  2. Use diamond hole saws to drill holes 1/4" and larger or to drill holes in thick glass like glass block or wine bottles.
  3. Use plenty of lubrication/coolant to keep your drill tip cool and the hole clean.
  4. Use less pressure! Let your drill bit drill at it's own pace.
  5. Start diamond hole saws at 600-900 RPM
  6. Start diamond drill bits at 2500-5000 RPM

    I used a 1/2" diamond bit I got at the home improvement store for $7.


     Now let me try and expand the difference between a bit and a hole saw....Cause this is where I got very confused and maybe you are too...
    They both are bits to use in a drill....
    The hole saw cuts a ring to make a hole and a bit drills a hole and works outward to 
    make a bigger hole.
     See?
    The bit I bought is considered a hole saw....
    Make sense???
     Then I got to know the hubby's drill press a little better... I used the larger one for this project.
    I've always been shy around power tools but this one is so easy to use and I've been using it for lots of other crafts too.
     See how you can set the speed for working with glass....the turtle for slow and rabbit for fast is how you change the setting on the R.P.M.
    Put in the diamond bit.
    Make sure you wear your safety glasses
    and don't apply too much pressure....let the drill do the work.
    We bought 2 socket kits($2 each) not sure which one to use...
    ended up using the smaller one without wires.

    There are a lot of different type pendant kits you can buy...like the one I bought to make a
    But I found this on sale for $40 with a $20 rebate at Mernard's
    My plan was to replace the globes with my glass insulators
     Here are the ends of the pendant light...
    One still attached and one taken apart
    You will need to use pliers to pull off the socket, wire strippers to remove the wires and then unscrew the other two pieces. 
    (I'm sure had I found a pendant kit with a smaller socket I could have skipped this step and simply changed out the globe with the glass insulator.But a lighting kit with a small socket could not be found in my small town.)
    So you will have these two pieces left....
    Thread the wires through the hole you cut
    and attach the socket
    There are instructions on the back of the 
    socket packaging.
    I used an LED energy efficient long life bulb
    There is also tons of helpful video's on the internet about how to wire a socket.
     Ready to install.....
     This pendant kit comes with assembly and installation instructions.
    Remember you can also turn a CAN light fixture into a pendant light with a $10 converter kit.
    Here's another single mini pendant kit you can purchase. I have seen these priced $10-$20 in White, Nickel and Black finishes.


    Don't have a place to hang a pendant???
    Then you could pick up on one of these 
    clip on socket cord sets for around $5 at your home improvement store and make a lamp!
    Check out what these lights are going for

     So for around $35 
    (light kit, diamond bit, sockets, LED lights)
    I made 3 charming pendant lights to hang in my kitchen
    Check out all the places I party!


Turn that boring Can light into a Charming Pendant Light

Did I say charming?? I mean absolutely FABULOUS!! 
My wonderful can't stop staring at Mason Jar Pendant Light!
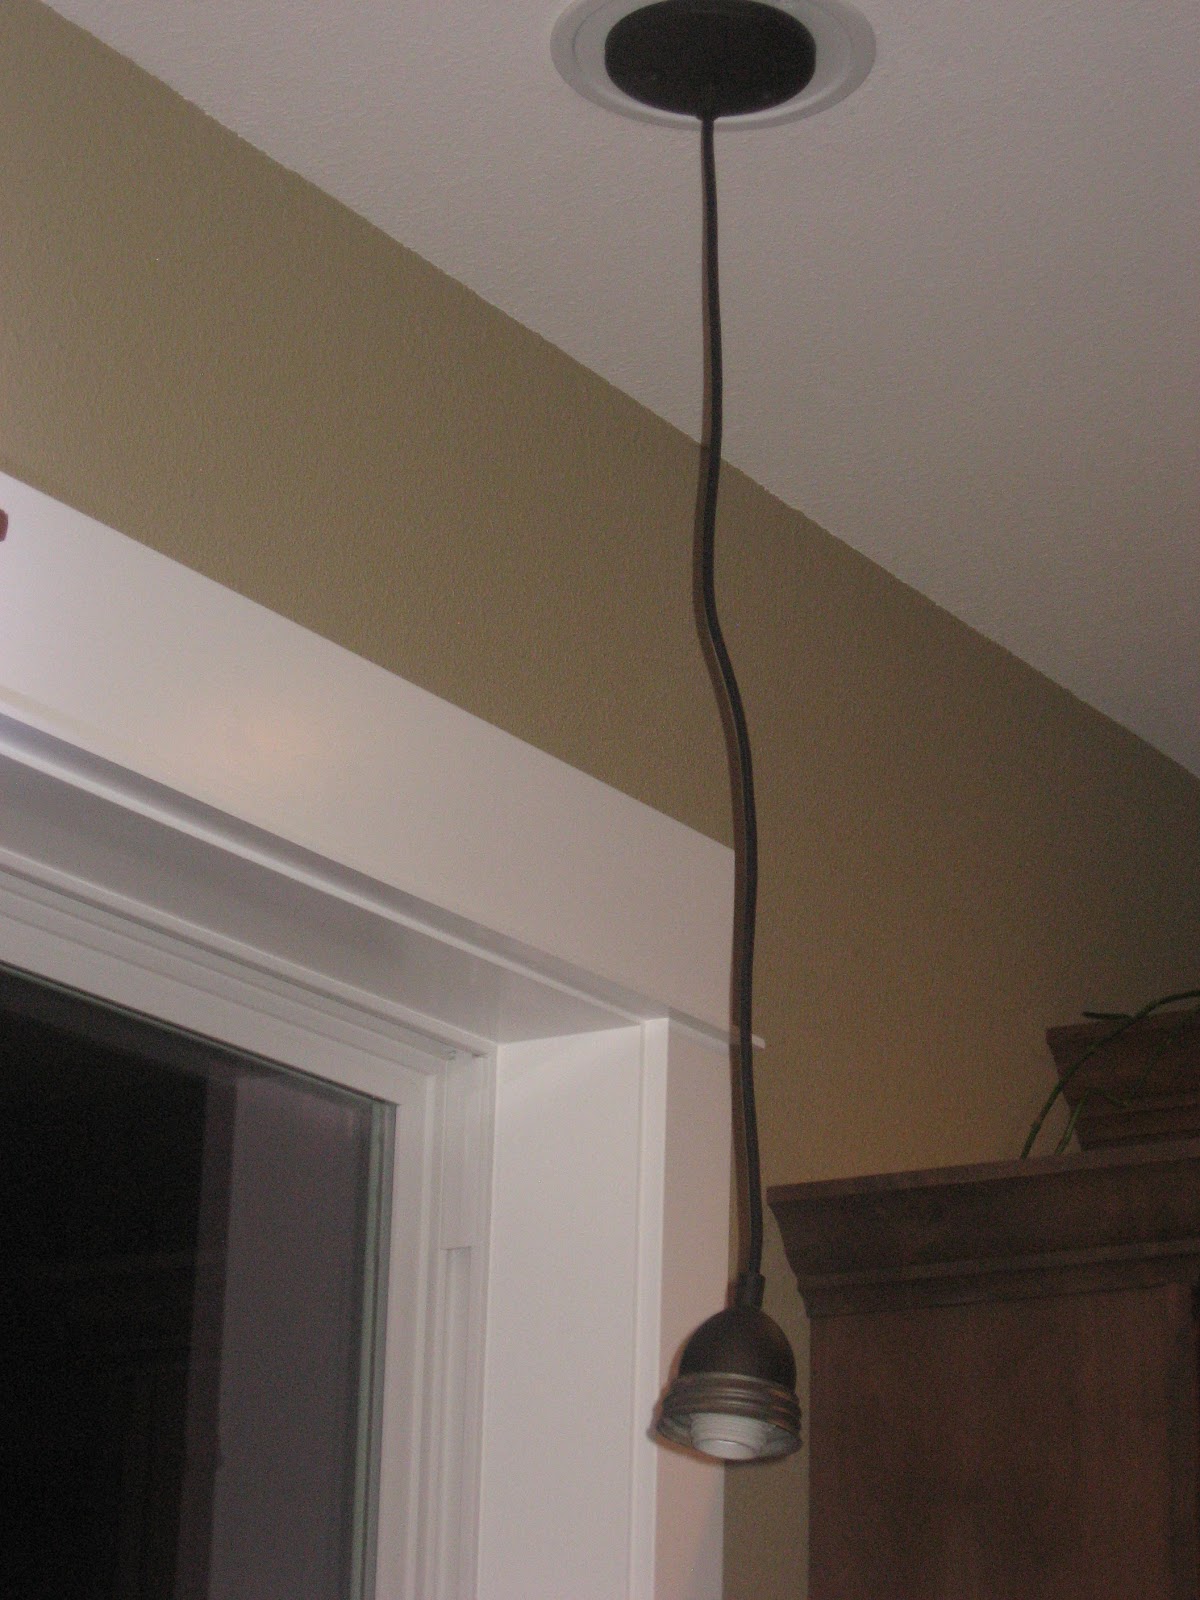
BEFORE......boring!

Whatcha need:
This is a fixture converter from Home Depot for around $10
And a pendant kit....Home Depot $14 or cheaper on Amazon!
This also comes in white, brush nickel and other colors. 

 I used one of my grandma's old mason jars...these can also be purchased on ebay for varies prices $.99 and up.
Or
Any other lighting fixture that you would like to use.

What to Do:
Well I didn't even try to attempt this on my own.....
it was so simple for the hubby to do in minutes and would have taken me hours 
Snap out the can light fixture

Attach converter.....
It comes with great directions and picture diagrams...
So I was able to easily see if the hubby was doing it right 
 
Done...Easy Peasy!

Now attach bracket that comes with the pendant kit

Adjust your length...this kit is adjustable up to 50".

Now attach your fixture!
I used a mason jar so I'll show you how I did that....
I gave my hubby the opportunity to use his handy dandy tool..
He measured and cut the hole for me

I didn't like the look of the zinc lid against the bronze fixture...
So.....I painted it!


All three people screw tightly together

So much better! 

 Instant added Charm!

Just add a low-energy 40 watt bulb 
and ENJOY!

This a Pottery Barn inspired pendant
$399.00!
 
~Please check my sidebar for all the wonderful places I link up and MORE great ideas.~
WhisperWood Cottage


You May Also Like:

Related Posts with Thumbnails
Blogging tips