This is a painted floor I did for my craft room.
I wanted a 'rug' that was fun, bright and cheery….
to inspire creativity while I'm in there crafting away....
I think I accomplished that…..

This was brand new carpet that the previous owner installed….
the hubby thought I was little crazy for ripping it up!

I always have a much needed helper around!


After I ripped up the carpet I removed the tack stripes around the room..
You don’t want to step on these things! Trust me! OUCH!

Then I pulled up the padding…
{I saved the carpet&padding…who knows what project I’ll need it for later}
and removed all the staples with a screwdriver.

Then I vacuumed the floor a few times!
You don’t want any dust or debris while you’re painting…
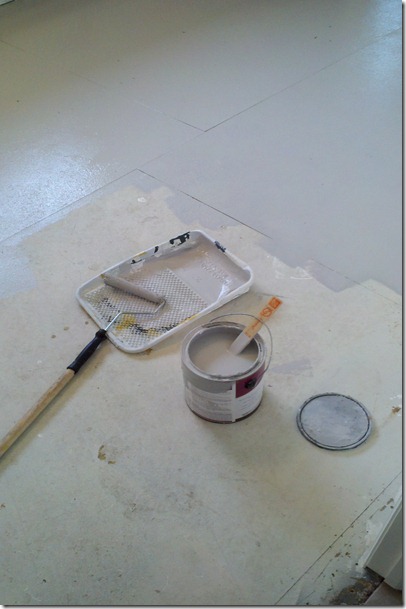
Time to paint the floor.
I gave the sub floor two coats of some gray paint.
I did not follow any rhyme or reason with this floor..
I simply used the paints and stencils I had on hand...
So this floor was no cost to me…..just my time…. about a weekend.
I wanted a fun colorful craft room floor that looked like a rug…
Here’s what I did:

I outlined my floor with some
Frog Tape…
I didn’t measure for the middle of the room because I wanted it a bit off center.
I plan on a build-in desk under the window so that side of the room has the 'rug' further out into the room.
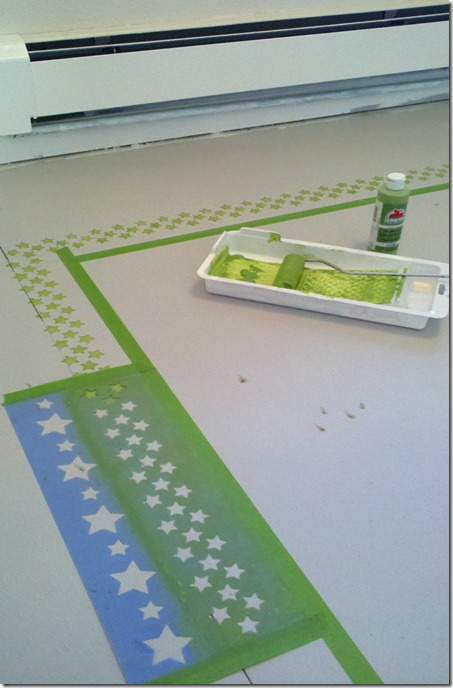
All around on the outside of the tape I used a
Hobby Lobby star stencil and some craft paint.

I just used one coat of paint because I plan on sanding the floor to give it a distressed look…. so no need to be perfect….
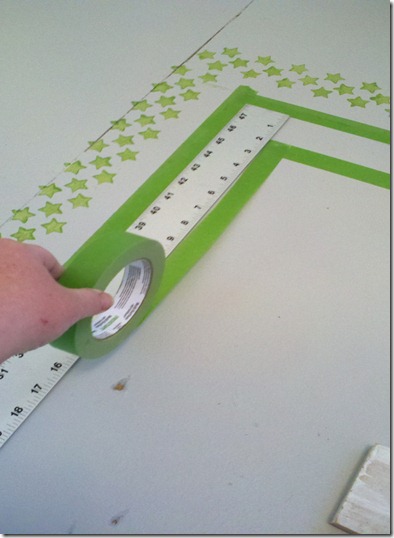
Next I used my ruler as a straight edge and to get the right width.
Then added another round of Frog Tape.

Love this tape! I had NO seepage at all!

I painted a coat of purple with my craft paint between the Frog Tape.

Then using my Frog Tape as a guide for my stencil edge….
I painted a round of yellow dragon flies.
This was a cute little free stencil I received from
Cutting Edge Stencils when I placed an order

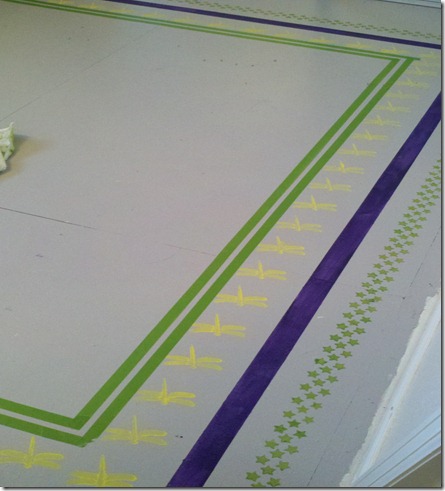
Then I laid another round of Frog Tape.

I gave my stripe a coat of orange.

Again using my Frog Tape as a guide for my stencil…
I used the other side of my star stencil to paint some pink stars.
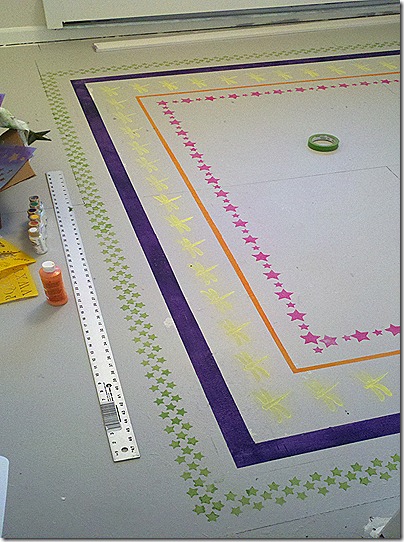
Starting to LOVE the look of my painted rug

I used this wood thing in each corner..traced and painted
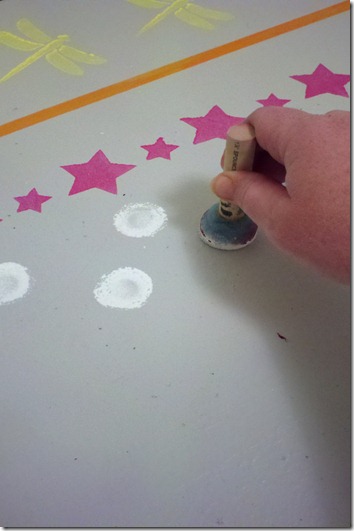
Then I dabbed some white polka dots!

Trying to figure out what to do next…
I was gonna use a coaster to make a round of diamond squares..
But thought that would be too time consuming…

So I did another round of tape…
I measured from a few areas to get a straight taped edge.

I used a piece of wood to get my width

I gave each corner a slanted edge…

I did two rounds of Frog Tape using my wood guide
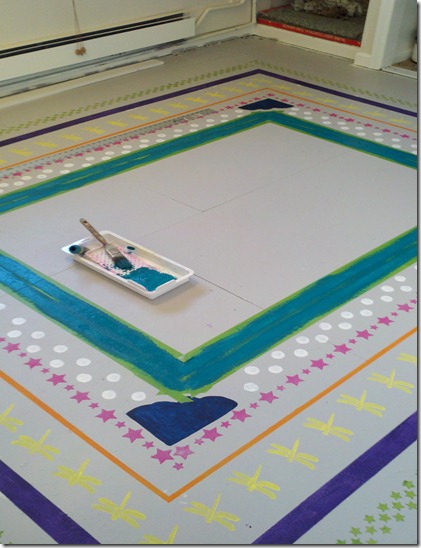
and painted both with teal
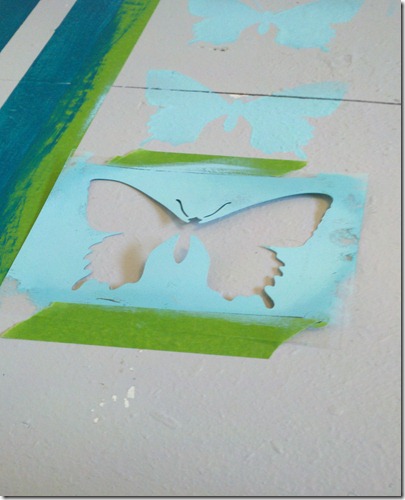
Another round using my free with purchase Cutting Edge Stencil and
painted some little blue butterflies

Almost done!

I wanted some inspiring creative words in the center of my ‘rug’
I laid out some cardboard letters…..
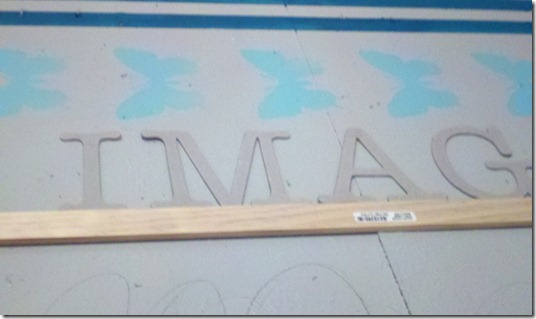
Then I just traced each letter with a pencil……
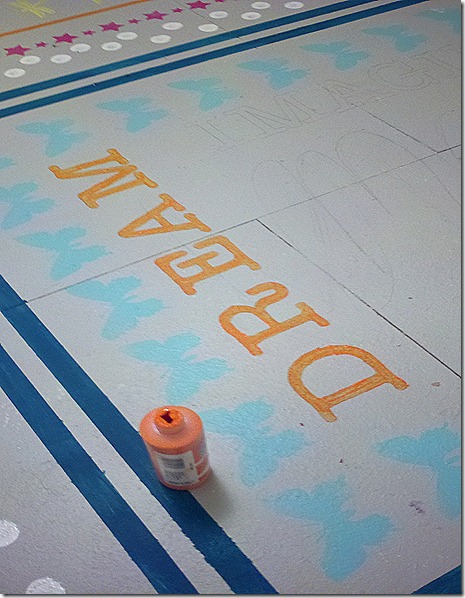
and painted them in orange.

Ekkkk! Do you LOVE it?!?
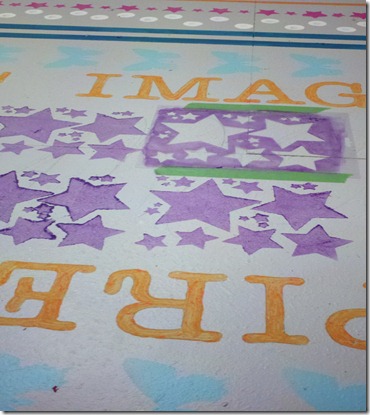
and to finish off my rug I used another star stencil in the center

Ta da!

The next step is to distress the floor with a sanding block
and it’s nice to have a helper!

I love the worn look….

and it tones down the bright colors a bit.

The final step, I gave it two coats of a floor finish!
I used a water based polyurethane in Satin.
Rust Oleum 230131 Varathane Water-Based Diamond Floor Finish
Can you see the slight shine??

This fun floor is perfect for a craft room!
If this isn’t your thing…..
Check out Roeshels’s awesome painted floor over at
The DIY Show Off
It's very classy and modern!
Here's a sneak peek of the fun walls I'm painting......
This room is gonna be FABULOUS when it's all done......so stay tuned!
I am entering this project over at the:
Thank you so much for stopping by!
Check out all the places I party!


